In this guide
- Define what the comparison can answer
- Identify the complete microphone path
- Prepare a quiet, ordinary practice session
- Make the first recording in Windows 11
- Record the second position without changing the setup
- Use a longer passage when the count is too simple
- Compare the samples in a consistent order
- Decide what the observed pattern suggests
- Keep recognition testing separate
- Prepare a support description that can be acted on
- Make a playback comparison you can describe to another person
- 30 questions and answers about the stenomask audio comparison
Published November 17, 2026.
A short recording can tell you whether your stenomask is delivering understandable speech before you investigate recognition software. Record the same words with the mask in your normal working position and with the mouthpiece held about two inches away from your face. Keep the microphone, connection, application, and recording settings unchanged. Stop recording before disconnecting anything, then listen through the computer's speakers.
The useful result is a pair of labeled recordings and a plain description of what you hear. A clearer sample with the mask away from the face is a reason to investigate position, fit, and speaking technique. It does not prove a particular cause or establish that every part of the equipment is working correctly. A silent recording needs an input-path investigation before a fit comparison can tell you much.
This guide gives you an original, repeatable listening procedure for Windows 11. It contains practice passages and fictional examples of how to describe results. It does not contain recordings from a completed Martel experiment or a claim that one model achieved a measured improvement. For broader symptoms, use the Stenomask troubleshooting guide. For choosing equipment, use the Stenomask buyer's guide.
Define what the comparison can answer
The first question is whether the saved recording contains your speech. The second is whether that speech changes when you move the mouthpiece away from your face. These are listening questions about the signal reaching the recording application. They are separate from whether recognition software correctly interprets a name, inserts punctuation, or places text in the intended document.
Mask-on means the normal position you use when voice writing, following the instructions for your particular mask. Mask-off in this guide means holding the same mask approximately two inches in front of your mouth. You are still speaking toward the mask microphone. You are not switching to the laptop's built-in microphone, removing the microphone assembly, or taking the mask apart.
The distance is a practical reference for a brief comparison, not a calibrated laboratory measurement or a recommended working position. Try to keep it similar between attempts. You do not need to press the mouthpiece harder against your face or raise your voice to force a successful result. Use your ordinary, comfortable speaking effort and record what actually happens.
Moving the mask changes more than one physical condition. It changes the distance between your mouth and the microphone and the acoustic conditions around your speech. That is why the comparison can reveal a useful difference without identifying one cause conclusively. Treat it as a way to direct the next question, rather than a pass-or-fail test that decides whether to replace a product.
Identify the complete microphone path
Write down the mask model and everything between it and the computer. Include the adapter if one is present, the USB connection you use, and the input name shown in the recording application. Keep that note beside the sample names. A support request becomes much more useful when another person can tell which physical microphone produced each file.
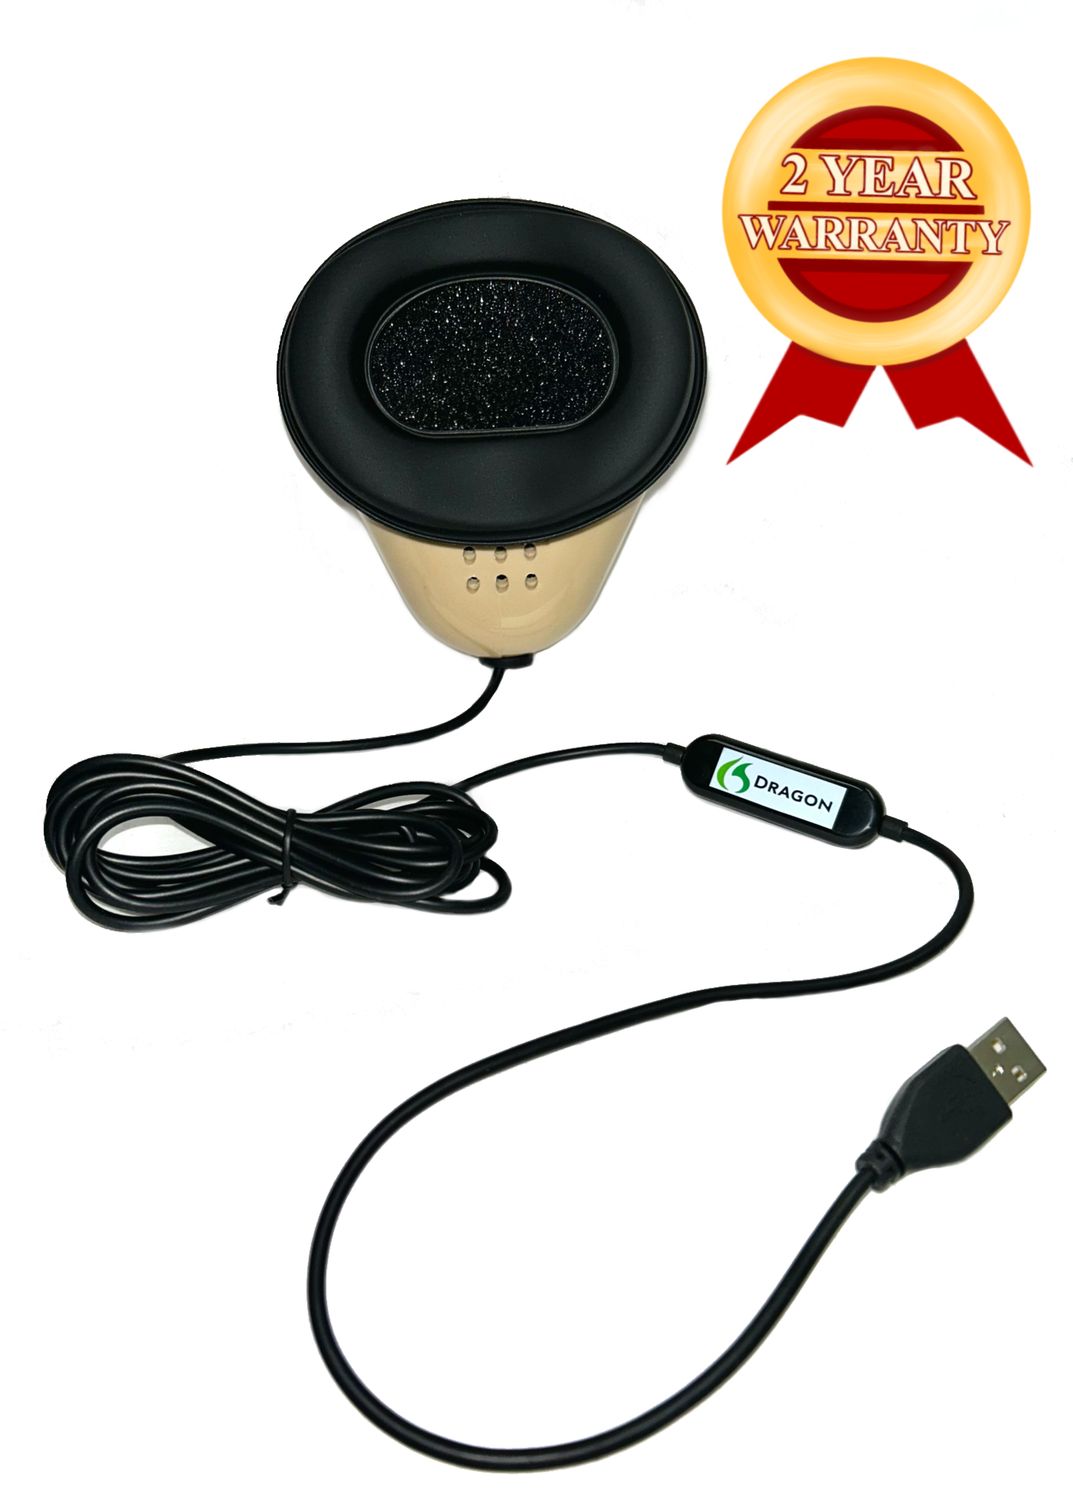
The Martel Dragon USB Stenomask has a USB connection and built-in sound card. For this comparison, identify its actual input on the computer and keep the same connection for both positions. Do not add an analog microphone adapter to a direct USB path simply because another person's mask requires one.
The Martel MM-18 Stenomask has a single 3.5mm analog output. Its computer route requires a compatible microphone input or a suitable audio interface. A socket that accepts the plug physically is not enough information to establish compatibility. A headphone output and a microphone input perform different jobs, even when their connectors look similar.
If your confirmed configuration includes an external USB microphone adapter, identify it by its full model. Martel offers the USB-SA microphone adapter for suitable analog microphone arrangements. Confirm the complete mask-and-adapter combination before ordering. The purpose of identifying the adapter here is to describe the signal path accurately, not to assume that every analog mask uses the same interface.
If the mask has two output leads, choose one supported destination for the initial comparison and label it. A successful recording from one lead does not verify the other lead or the application attached to it. Avoid changing outputs between the mask-on and mask-off samples; that would make the connection change part of the comparison.
Prepare a quiet, ordinary practice session
Use your normal seated workstation with the microphone cable relaxed. Keep the computer in the position you usually use, and make room for the mask to move away from your face without pulling its cable. A stable arrangement makes it easier to notice a change in speech rather than a change caused by handling or a strained connector.
Choose a room where you can speak freely and play a short sample through the speakers. Use invented practice words, not case details, client information, or another person's private conversation. The goal is to create a sample that you can review or describe without exposing work material. A quiet practice session also makes pauses and individual consonants easier to inspect.
Close other recording or meeting sessions after saving your work. Begin with the recording application by itself so that you know which program is receiving the input. You can investigate a problem that occurs only with several applications open later. Starting with every program running makes it harder to determine which part of the setup changed the result.
Choose a comfortable speaker volume before comparing samples and leave it alone during the first listening pass. A louder playback can seem clearer even when the captured speech has not improved. You may adjust the volume later to investigate a quiet file, but note that adjustment separately from the first comparison.
Do not turn on a feature that plays the live microphone through the speakers for this exercise. The comparison uses saved playback after recording has stopped. Hearing yourself while recording can be distracting and can introduce another sound path. If you already use monitoring for a different purpose, document it and avoid making unexplained monitoring changes between samples.
Make the first recording in Windows 11
Open Start, type Sound Recorder, and open the app. Confirm the intended microphone. In Windows Settings, System, Sound, review the selected input if needed. If recording access is blocked, check Settings, Privacy & security, Microphone, and allow the appropriate app access.
Select Record, or press Ctrl+R. Count from one to twenty at an easy pace. Select Stop, or press Esc, when finished. The recording appears in the app's list. Rename it with a useful label such as “Mask on, attempt one.” Stop recording before unplugging the mask or adapter. Select the saved recording and play it through the computer's speakers, confirming the speaker output in Sound settings if necessary.
Listen first for the existence of understandable words, not for a polished voice performance. Can you follow the count from beginning to end? Are any numbers missing? Is there a continuous hum, a sudden interruption, or a very quiet voice? Describe those features in ordinary language. You do not need to guess a technical term before you can report a useful observation.
If no words are audible, confirm that you are opening the newly saved recording rather than an older sample. Check that speaker playback works with audio you already know is audible. A silent speaker path and an empty microphone recording can sound the same to the listener, but they require different investigations. Keep those possibilities separate before changing the mask position.
Record the second position without changing the setup
Reconnect the same equipment after the first playback if you disconnected it. Confirm the intended input again. Hold the mouthpiece about two inches in front of your mouth and speak toward it. Keep your posture and speaking effort comfortable. Do not point the mask away from your voice, cover openings with your fingers, or pull on its cable.
Make a second recording using the same count from one to twenty. Stop, label the file “Mask away, attempt one,” and listen through the same speakers. The file labels should identify the position even if you review the recordings tomorrow. Avoid names such as “good” and “bad” because those labels state a conclusion instead of identifying what you did.
The comparison is more informative if you repeat both positions once. Make a second mask-on sample and a second mask-away sample under the same conditions. If the first result does not repeat, retain that uncertainty. A single interruption or unusually forceful phrase can make one short sample look more decisive than the overall behavior warrants.
Keep the original files. Do not normalize their volume, apply noise reduction, trim away a missing beginning, or replace a difficult word before making the first assessment. An edited demonstration may sound better but can remove the very detail that explains the problem. If you later make a listening copy with an adjustment, label it as a separate copy.
Use a longer passage when the count is too simple
Counting is useful because it is easy to perform and easy to describe. It may not reproduce an issue that appears after a pause, during a longer phrase, or with particular speech sounds. Once the basic count is audible, use a short original passage with ordinary words, a few numbers, and clear pauses. Read it naturally rather than exaggerating every consonant.
Try this practice text: “The blue folder is beside the lamp. Please bring page fourteen to the small table. We will begin at nine fifteen. I placed three clean sheets beneath the notebook. The second meeting will end before noon. Please repeat the final number slowly.” Leave a comfortable pause after each sentence.
Read the passage once in each position using the same connection and settings. You can write down the intended text, but judge the recording by what you actually said. A skipped word during reading is different from a spoken word that disappears from the recording. If you stumble, keep the attempt and label the stumble in your notes instead of silently treating the script as proof of what reached the microphone.
For an issue at the beginning of speech, add a separate sample with several natural pauses followed by short phrases. For example: “First phrase: blue folder.” Pause. “Second phrase: page fourteen.” Pause. “Third phrase: nine fifteen.” Do not specify that a particular pause duration will reproduce the problem; the relevant timing comes from the behavior you are investigating.
After recording, identify the exact phrase or approximate playback position where the difference occurs. “The beginning of ‘second phrase’ is absent in the saved file” is much more useful than “the microphone lags.” The observation describes the recording itself and leaves the cause open for investigation.
Compare the samples in a consistent order
Start with the two mask-on attempts. Ask whether they resemble each other. Then listen to the two mask-away attempts. A position-related difference is more persuasive when each position gives a reasonably repeatable result. If all four recordings vary substantially, investigate what else varied before deciding that position explains the change.
Next, compare one mask-on sample with one mask-away sample at the same playback setting. Listen for word endings, the start of phrases, rough or broken sounds, and whether a listener can identify the words without reading the script. Note loudness separately. “Quieter but understandable” and “louder but unclear” describe different outcomes.
If another person helps, let that person listen before showing the text when practical. A listener who knows the sentence may fill in a word that the recording does not clearly preserve. Ask for the words the listener actually heard, including uncertain fragments. Do not pressure the listener to produce a favorable result or choose the sample you expected to sound better.
Write one sentence for each observation. Examples include “Both positions contain all twenty numbers,” “The mask-on count sounds more muffled in both attempts,” or “A brief break occurs in all four files.” These are examples of reporting language, not measured results from the products shown. Your notes should describe your recordings, including an inconclusive comparison.
Decide what the observed pattern suggests
If both positions are silent, return to the input and playback paths. Confirm the selected microphone, the compatible connection, app access, and the output used for listening. Position cannot explain a useful difference when neither file contains a usable reference. Record the device names and any error message so the next investigation begins with evidence.