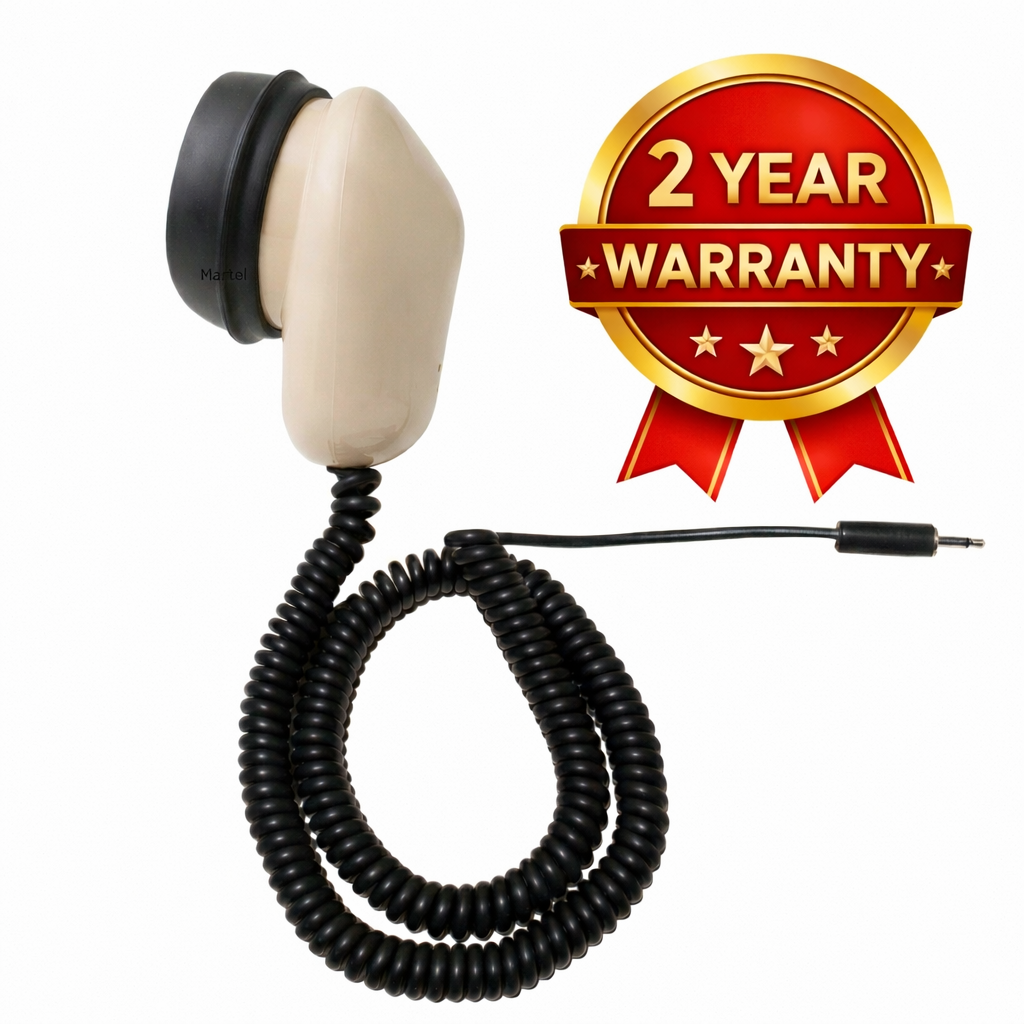
Start with the MM-18’s single microphone connection
The Martel MM-18 Stenomask is a compact analog microphone enclosed in a mouth-covering mask. It sends the voice spoken into it through one 3.5mm plug, also called a 1/8-inch plug. The coiled cable, silicone mouthpiece and foam filter are part of the listed mask package. A computer, handheld recorder, USB adapter and recording software are separate equipment choices.
That distinction is useful before buying anything else. The mask captures speech; the receiving device determines whether you record an audio file, feed speech-recognition software, or do both through a supported application arrangement. The MM-18 itself does not create text or store recordings. It also does not provide the two independent microphone outputs found on certain other Martel models.
1. Identify the receiving input before choosing an adapter
Write down the exact computer or recorder model and identify its microphone input. A socket that looks the right size is only the beginning of the check. A headphone output sends audio to your ears; it cannot receive the MM-18’s speech signal. A combined headset socket may use a different connection arrangement from a dedicated microphone input. Ask for compatibility confirmation for the complete route, rather than ordering a chain of adapters based on plug size.
- Computer with a suitable microphone input: confirm that the input accepts the MM-18’s analog microphone signal and that your application can select it.
- Computer using USB audio: confirm a compatible external microphone adapter, the USB connection to the computer, and the intended application input.
- Handheld recorder: confirm the external microphone input, cable arrangement and required input settings for that exact recorder.
The Andrea USB-SA adapter has separate 3.5mm microphone and speaker connections. Andrea identifies the pink socket as the microphone input and the green socket as the speaker output. Its role is to provide a USB audio interface; selecting that interface in Windows does not by itself prove that the connected mask is being recorded. Confirm the proposed MM-18 arrangement with Martel before ordering.
2. Establish a comfortable, repeatable working position
Set the recorder or computer where you can see its controls. Position the mask against your mouth in the normal working position, with your nose clear. Leave enough cable slack that moving your hand or turning toward a screen does not tug at the connector. If you use a stand, adjust its position while seated at your usual desk height.
Make the first test with the supplied parts before changing several accessories. This gives you a reference recording for later comparisons. If the mask feels unstable or you cannot find a comfortable position, ask about mouthpiece fit. Pressing harder is not a substitute for matching the mouthpiece and support arrangement to the way you work.
3. Select and test the input in Windows and your application
In Windows 11, open Settings → System → Sound and inspect the Input section. Select the intended microphone or USB interface. Microsoft’s microphone test lets you record a short sample and play it back; use it to establish that Windows receives your speech. If an application cannot access the microphone, inspect its microphone permissions under Privacy & security.
Then check the input inside the recording or recognition application. A program can retain a different selection from the one you expected. Speak a distinctive practice phrase into the mask and listen to the result. Do not rely only on a moving meter: a laptop microphone or another attached device may also make a meter move.
“MM-18 setup check. This is the mask connected to my selected input. Beginning, middle, and ending are all part of this practice recording.” Use fictional material so the sample is easy to retain or share with support.
4. Save, close and reopen a practice recording
Create a short recording in the application you actually plan to use. Include ordinary speech, a brief pause, and a clear ending. Stop the recording, save it to a known folder, and reopen the saved file. Listen for intelligible speech throughout the sample, an intact beginning and ending, and a sensible level without harsh distortion.
For a handheld recorder, follow its manual to select the confirmed external input and start recording. Check the saved file on the recorder, then verify the intended transfer and playback process on your computer. This tests more than the cable: it tests the handoff from capture to the recording you will later review.
If the result is unsatisfactory, change one relevant setting or connection at a time and repeat the same phrase. Keep both samples. “The second recording works after selecting the USB adapter” gives support useful evidence; “I changed everything” makes the cause harder to identify.
5. Plan a second destination and room audio separately
One mask output and two independent mask microphones are different equipment arrangements. If your plan requires separate microphone paths to a computer and a backup recorder, compare the MM-ST1 with two 3.5mm outputs, MM-ST2 with XLR and 3.5mm, and Double Dragon 2 with USB and 3.5mm. Each has a different output combination, so match both destinations before purchasing. Verify both saved recordings during practice.
A second mask microphone still captures the writer speaking into the mask. Participant or room audio requires its own appropriate microphone and recording plan. Our mask and room microphone guide explains that distinction in more detail.
Questions before ordering an MM-18
Does it plug directly into USB?
The MM-18 has a 3.5mm analog microphone plug. A computer using USB audio needs a separately confirmed interface arrangement. For a direct USB mask option, compare the Dragon USB Stenomask.
Will a plug converter guarantee compatibility?
No. The receiving input must accept the microphone’s signal and connection requirements. Send Martel the recorder or computer model, input details, and intended application before choosing an adapter.
Which accessories should I buy first?
Start with the parts needed for a confirmed recording route. Then choose replacement foam, mouthpiece or stand based on fit and daily use. The Stenomask accessories guide explains those decisions.
Sources and equipment details
Product connections and package details were checked against Martel’s linked product listings on November 9, 2026. Windows setup steps follow Microsoft’s microphone setup and test guidance and microphone permission guidance. Adapter jack identification follows the Andrea USB-SA specification sheet. Current listings and the receiving equipment’s instructions govern compatibility.