In this guide
- Decide what a successful recording must let you do
- Map the recording path before changing settings
- Make a simple drawing of the occupied space
- Use a script with words that are easy to check
- Establish a normal-voice baseline
- Add quiet speech without asking for a whisper
- Check louder speech and abrupt changes
- Test every required speaking position
- Include ordinary changes in posture
- Record the room before anyone speaks
- Introduce one everyday noise source at a time
- Separate table contact from airborne sound
- Change one variable and keep the previous file
- Compare recordings at a sensible playback level
- Listen before looking at the expected words
- Use a short observation sheet
- Give a multi-microphone arrangement its own test
- Keep monitoring and saved-file checks separate
- Add the real application after the basic check
- Treat remote audio as an additional destination
- Work through a four-seat planning example
- Turn the findings into an equipment decision
- Keep a reference recording for future changes
- Try a short name-and-number listening sheet
- 30 questions and answers about microphone speech-clarity tests
A useful court reporter microphone test begins with an ordinary conversation. Put the microphone where you expect to use it, record people speaking at their normal levels, and listen to the saved file. Include the quiet participant, the person looking down at a document, and the seat farthest from the microphone. Those moments usually tell you more about a working setup than a loud voice announcing that the microphone is on.
This guide explains how to make that comparison repeatable. You will learn how to separate a microphone problem from a placement problem, how to include room noise without turning the exercise into a stunt, and how to keep a simple record of what improved. It is a testing method you can use with your equipment. The examples are planning examples, not reported measurements of a particular room or promises of a particular result.
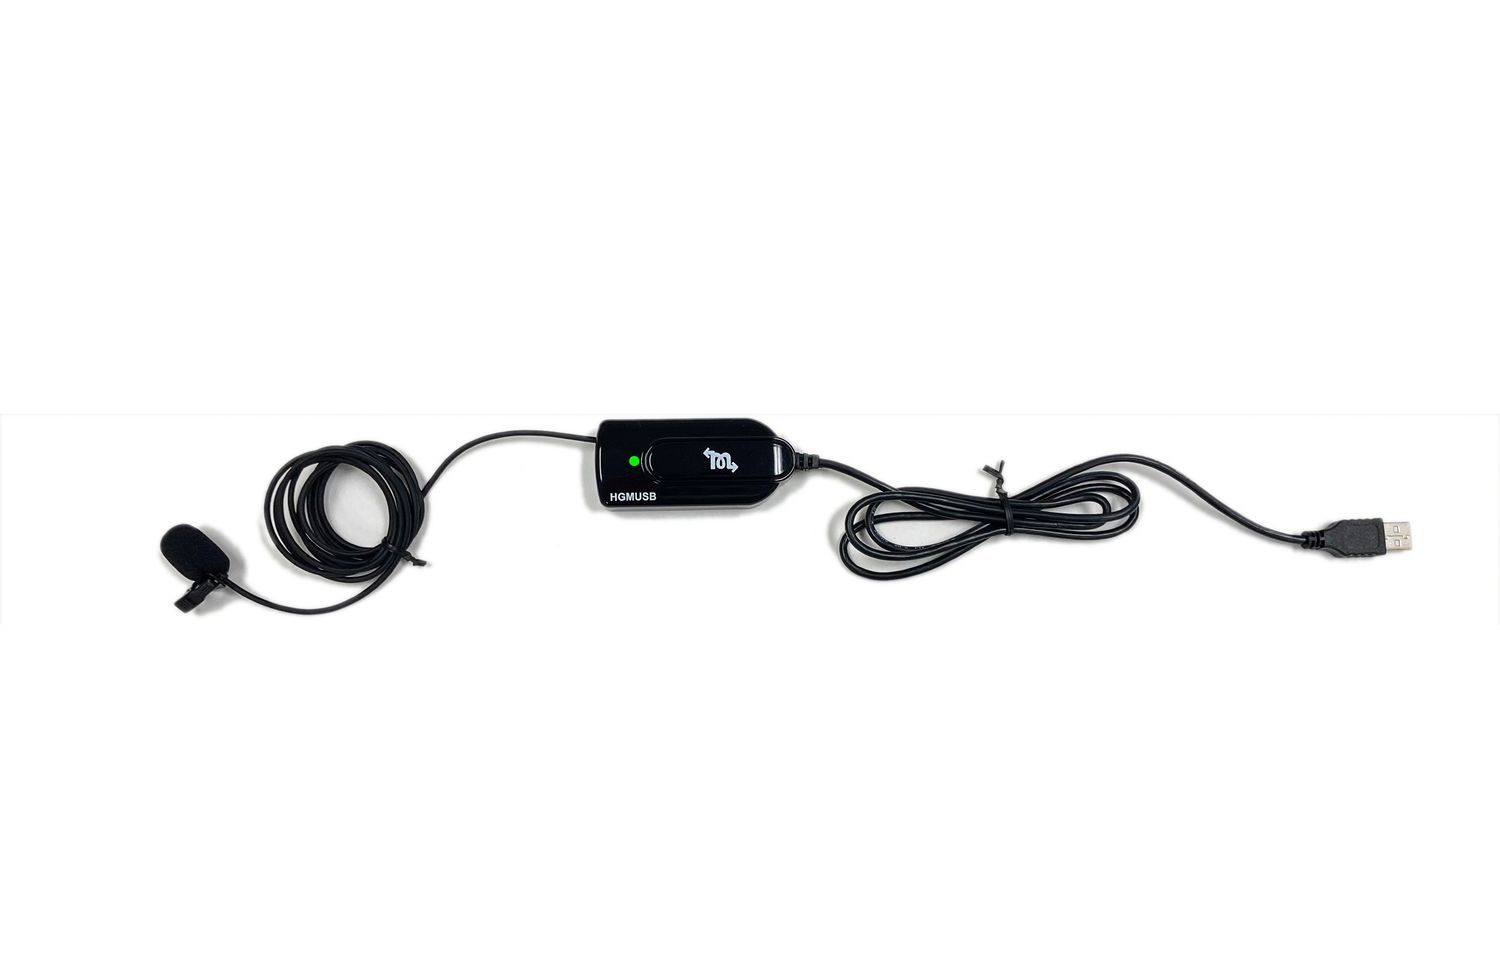
Start with the Martel court reporter microphone range when you need to compare equipment paths. The HGM-USB microphone is a USB-powered option for a computer recording arrangement. The HGM-2 microphone and HGMUSB3 three-microphone package provide other Martel configurations to discuss around your receiving device and speaking positions. Confirm the exact connection and package before making a purchase.
Decide what a successful recording must let you do
Write the purpose of the recording in one sentence. You might need to locate an uncertain word while reviewing your work, follow a quiet witness during playback, or keep a separate audio reference for an assignment. These purposes are more specific than wanting the recording to sound good. They give you something practical to evaluate.
Next, list the moments that are difficult in your actual work. Examples include a speaker turning toward another person, an answer delivered while reading, a sudden increase in speaking volume, or a brief exchange from the end of the table. Include these moments in the practice recording. A setup that handles one strong voice well has passed only that part of the task.
Keep expectations tied to the recorded material. Clear audio supports review, but it does not establish the accuracy of a transcript, identify a speaker by itself, or replace your professional procedures. Your test should establish what the equipment captured under the conditions you documented.
Map the recording path before changing settings
Follow the signal from the speaker to the file. Identify the microphone, any interface or controller, the computer or recorder, the recording application, and the playback device. A short written chain is enough. If you are unsure what receives the microphone signal, resolve that before adjusting several controls.
For a USB computer arrangement, verify that the recording application has selected the intended external device. A computer can have several available inputs, including a built-in microphone or a camera microphone. Seeing an external microphone connected does not prove that the application is using it. Make a short recording and check the selected device name in the application you actually use.
For an arrangement involving a recorder or writer, confirm the supported input and supplied connection. A connector fitting into a socket is only a physical observation. The receiving equipment must also accept the signal being supplied. The Martel microphone connections guide can help you organize the information before choosing an adapter or a different microphone.
Make a simple drawing of the occupied space
Sketch the table, the microphone positions, and the seats you expect people to use. Mark the computer, the nearest ventilation outlet, and anything that regularly produces noise. The drawing does not need to be attractive. It needs to let another person understand the arrangement you tested.
Give positions short labels such as A, B, C, and D. Record the approximate distance from each speaker to the microphone, measuring consistently from the same reference points. Distance is useful context, not a guarantee. A person facing the microphone and a person turned away can produce different recordings from the same chair.
Photograph the arrangement before moving anything. Include the full table and a closer view of the microphone support and cable route. Keep these photographs with your notes. If a later change improves the audio, you will have a reliable way to reproduce the earlier arrangement and confirm that the change mattered.
Use a script with words that are easy to check
Choose a short practice passage that contains ordinary sentences, names, numbers, and a few similar-sounding words. Use invented names and details. The goal is to hear whether the recording preserves distinctions, not to expose real case information or make the reader perform an unfamiliar speech exercise.
For example, a practice speaker might say: "The delivery arrived on Tuesday. Morgan counted fifteen folders and placed the blue folder beside the window. The next appointment begins at nine fifteen." This is an original practice example, not a standardized test. A different passage can work equally well if you keep it the same across comparisons.
Give the listener a separate answer sheet or keep the passage hidden during the first listen. Familiarity can make unclear words seem easier than they are. A listener who already knows every sentence may fill in gaps from memory. Listening before looking at the script helps you notice where the recording requires effort.
Establish a normal-voice baseline
Ask the speaker to use the voice they would use in a normal conversation at the table. Avoid an exaggerated announcement voice. Start with one person in an ordinary seat, record the passage, stop the recording, and play the saved file. Confirm that the file exists and contains the expected speech before expanding the exercise.
Keep the initial controls simple. Use the equipment and application settings that are appropriate for your supported configuration. Note their positions or take a screenshot where that is practical. If the recording is clearly too low or distorted, correct the basic setup before treating it as a comparison result.
The baseline is your reference. Give it a clear filename that identifies the date, microphone arrangement, position, and condition. A name such as "Practice_A_normal_layout1" is more useful than several files called "test." Leave the original file intact so later processing does not obscure what was captured.
Add quiet speech without asking for a whisper
Quiet speech is common, but an artificial whisper can test a different situation. Ask the speaker to deliver the same passage more softly while remaining conversational. Explain that they should not deliberately make the words difficult. Your goal is to approximate a participant who speaks gently or answers while looking at a page.
Record the quiet passage from the same position before moving the microphone. Then listen for the beginning and ending of words, changes in effort, and moments when background sound competes with the speech. A recording can be audible while still requiring repeated listening to distinguish a name or number.
If quiet speech is weak, try one supported adjustment at a time. Moving a microphone closer to the speaking area may be worth evaluating before making a large sensitivity change. Keep both files. The useful question is whether the change improved understanding while leaving normal and louder speech usable.
Check louder speech and abrupt changes
A quiet-speaker adjustment should also be checked with a stronger voice. Ask the speaker to read a short passage with more emphasis, then return to normal speech. The exercise should remain comfortable and realistic. There is no need to shout into the microphone or create an extreme sound level.
Listen for harshness, crackling, flattened-sounding peaks, or words that become difficult when the speaker gets louder. These observations can indicate a problem somewhere in the recording path, but listening alone may not identify its exact cause. Look at any recording-level display your application provides and review the supported settings.
Avoid choosing a configuration solely because its quiet passage sounds louder. A balanced setup must also preserve stronger speech. If you changed a control to help a distant participant, repeat the nearby speaker's passage. This simple return check prevents one successful adjustment from concealing a new problem elsewhere.
Test every required speaking position
Move through the seats on your drawing using the same passage and broadly comparable speaking levels. Announce the seat label at the beginning of each recording. If several people take part, record who read each passage in your private test notes. Different voices introduce another variable that should be visible in the record.
Include positions that are inconvenient to reach. The person beside the computer may be easy to capture while someone at the opposite end is difficult. A table-wide assessment should not be based only on the seat that happens to be closest to the operator.
If one position performs poorly, investigate it specifically. Check mouth direction, distance, nearby noise, obstacles, and the recording path. A weak position does not automatically establish that the entire microphone is unsuitable. It may identify a placement issue, a need for another pickup position, or an equipment configuration worth discussing with Martel.
Include ordinary changes in posture
People do not hold a fixed pose throughout a proceeding. Add a short passage with the speaker looking down at a document, another while facing the person beside them, and another while looking toward the expected display or camera position. Keep the chair and microphone arrangement unchanged for these comparisons.
Label the changes clearly. "Seat B, reading downward" describes the test more accurately than "bad audio." It also gives you a useful troubleshooting direction. If normal forward-facing speech is clear but downward speech is difficult, the next trial can address that particular relationship between the speaker and microphone.
Do not ask participants to maintain an unnatural posture merely to produce a successful demonstration. A useful arrangement accommodates the reasonable movements your work requires. When a specific speaking position needs a different setup, describe that limitation in the room notes so the next operator understands it.
Record the room before anyone speaks
Capture a brief section of ordinary room sound with everyone quiet. Keep the microphone and application settings unchanged. This gives you a reference for ventilation, computer fans, distant activity, and any steady noise already present in the arrangement.