Martel Video Transcriber Kit or Software Only: Choose the Right Setup
Compare Martel SKU 1515 with pedal and headset against SKU 1527 software with two licenses. Choose the setup that matches the equipment you already own.
Headphones can tell you different things depending on where the monitoring signal comes from. Direct monitoring at an interface lets you hear the incoming microphones. Monitoring from software may include the application's routing or processing. Playback of a saved file checks material that actually reached storage. Describe the listening point accurately instead of using “monitoring” as though it meant the same thing everywhere.
The distinction matters when specifying a system against institutional requirements. The federal judiciary's court-reporting policy distinguishes confidence monitoring of recorded media from listening directly to microphones and discusses channel isolation. Read the applicable requirements with the purchasing authority; a product's ordinary headphone output should not be assumed to satisfy a particular off-media monitoring requirement. See the Guide to Judiciary Policy, Volume 6.
For your equipment acceptance check, record where the headphones connect and what the operator can verify from that position. Can the operator select one channel? Can the operator hear all planned sources together? Does the monitor remain available during the normal recording workflow? Identify any action that changes the signal being heard so it is not mistaken for a change to the saved recording.
Check headphone output at a comfortable level with the intended headset. A loose plug, muted software output or incorrect playback device can make a functioning recording path appear silent. Work through those output checks without changing the input configuration unnecessarily. Then reopen the harmless sample to confirm both the recording and review portions of the system.
Include monitoring in operator training. A second person should be able to explain what the headphones prove and what they do not prove. That explanation is more useful than memorizing one knob position because it still applies when a cable, application or review arrangement changes.
Storage planning starts with the actual recording format and channel count. Uncompressed PCM audio grows predictably from sample rate, bit depth and number of channels. Compressed audio depends on its selected bit rate and other settings. Use a measured practice file from the delivered system to confirm your planning estimate.
For an illustrative calculation, four channels of 16-bit PCM at 44.1 kHz contain 44,100 samples per second, multiplied by 16 bits and four channels. Dividing by eight converts bits to bytes. Multiplying by 3,600 gives approximately 1.27 decimal gigabytes for one hour of audio payload. Six hours is approximately 7.62 GB before file headers and other overhead. This is arithmetic for those settings, not a measured runtime or capacity promise for a particular memory card.
| Illustrative session length | Four-channel PCM audio payload | Planning implication |
|---|---|---|
| 1 hour | About 1.27 GB | Allow additional space for overhead and working reserve. |
| 3 hours | About 3.81 GB | Confirm how the recorder handles long sessions and file boundaries. |
| 6 hours | About 7.62 GB | Include every retained copy when planning archive storage. |
A source file, a working copy and a backup copy consume storage separately. For the six-hour illustration, three full copies of the audio payload alone total about 22.86 GB. That figure does not include transcripts, exhibits, application files or future sessions. Use the organization's retention and backup rules to decide which copies are required and where each belongs.
Check usable free space before the session, not only the label on the drive or card. Existing recordings occupy capacity, and a device may have specific media requirements. Use supported storage, follow the equipment's preparation instructions, and confirm the available recording time or capacity shown by the configured system.
A recording system can depend on several power sources at once. The computer may use its adapter while the interface has a separate supply. A microphone may draw phantom power from the interface. A standalone recorder may support an adapter and batteries. List the power source beside each component so a missing supply does not appear only after the room has been arranged.
Do not assume a charged laptop battery keeps every connected accessory operating. A separately powered interface has its own dependency. Likewise, batteries inside a recorder do not establish how a particular configuration changes power sources or how long it will run. Follow the exact model's instructions and test the intended arrangement using harmless material before depending on it.
Place adapters and cable connections where they will remain stable. Avoid leaving a power connection balanced on the edge of a table or creating a route that a chair can pull. Arrange cables within the room's approved safety and installation practices. A tidy equipment photograph is less important than a stable path that works when people move normally.
For a portable kit, include a packing check for each required supply and cable. Label adapters with the device they serve. Similar-looking plugs do not establish matching voltage, polarity or current capability. Use the specified supply instead of swapping an unidentified adapter because it happens to fit.
Define the approved response to an interruption before the assignment. The operator should know how to identify a stopped recording, notify the responsible person and follow the required procedure. This is part of operating preparation; a backup device or an advertised battery feature does not remove the need for a clear response when something changes.
A preflight should be short enough to perform consistently and specific enough to reveal a missing source. Begin with the documented channel map. Confirm that the intended microphones and feeds are connected, the receiving equipment is powered, the correct recording configuration is selected, and the destination has adequate free space.
Make a harmless test containing each planned source. Use the channel names while testing, then listen to the saved result. A practice recording that contains only the operator's nearby voice does not check the witness position, the far table or incoming remote speech. Include those paths when they are part of the assignment.
End the test in the normal way and reopen it using the planned review method. Confirm that the expected channels are present and can be selected. Check that the file or session name makes sense outside the recording application. If the application uses several related files, identify which items must remain together.
Use a simple record of the check: date, room, operator, equipment configuration, test filename and any change made. Do not fill the record with unsupported claims such as “perfect audio.” A useful entry says what was observed, for example “all four planned sources present on saved playback; channel two isolated successfully.”
If a change is needed, repeat the affected test after making it. Moving a microphone, changing an interface input or switching the recording application can alter the path you just checked. Keep the test proportional to the change, but finish with evidence from the saved result rather than an assumption that the adjustment worked.
Good notes make a long recording easier to review. Their value depends on whether a reviewer can connect a note to the right session and location. Establish a consistent identifier before the first working file is created. Use the organization's naming rules and avoid putting unnecessary personal information into a filename simply because it is convenient.
Distinguish elapsed recording position from clock time. “00:18:30” may mean eighteen minutes and thirty seconds into one file; it does not automatically mean a particular time of day. If the session produces multiple files, include the file or part identifier beside the position. An unqualified timestamp can point to several different moments when every file begins at zero.
A practical log can include the session identifier, recording part, elapsed position, event description and relevant channel. Entries might identify a new speaker, an exhibit reference or a restart after a recess, according to the operator's assigned procedure. Keep observations factual and use the same labels as the channel map.
Here is an illustrative entry: “Practice Session A, Part 02, 00:06:12, witness-position test begins, channel 2.” It contains enough information for another person to locate the harmless sample. A note reading only “witness test at six minutes” is less reliable because it omits the session and part.
Save the log with the material it describes, using the approved destination. If a correction is needed, preserve the meaning of the original reference and make the change understandable. Renaming files later without updating the associated log creates avoidable confusion even when the audio itself remains intact.
“Backup recording” can describe several arrangements. Two files on one computer are two files, but they still depend on that computer. Two recorders connected to the same microphone may share the microphone and the connection ahead of them. A separate recorder with its own pickup and power has a different set of shared dependencies.
Draw the main and backup paths beside one another. Mark every shared component: microphone, mixer, cable, power supply, computer, storage destination and operator action. This exercise does not declare one design universally correct. It shows what a particular backup can still provide if a shared component becomes unavailable.
For example, a dedicated room recorder may continue operating if the main recording application closes, provided its own setup remains functioning. It does not follow that its microphone placement, file format or saved channels meet the same purpose as the main system. Test the backup for its intended role instead of assuming that the presence of a second device completes the plan.
Keep operational recording backup separate from archive backup. The first concerns capturing a second usable source during the session. The second concerns retaining an additional copy of saved material afterward. A recording can have one without the other, and a complete plan may require both under the organization's procedures.
Assign responsibility for starting, checking and ending each path. A device left in the bag is not an operating backup, and a second recorder that was never started provides no file to recover. Include the backup's status in the permitted operating checklist and verify its saved sample during preparation.
Moving the recording into the review workflow is a separate task from creating it. Identify whether the source is a memory card, recorder connection, computer folder or application-managed session. Follow the equipment's normal stop and transfer instructions before disconnecting storage or removing a card.
Copy the required material to the designated location, keeping related files together. Preserve the original source while verifying the copy according to the organization's procedure. A transfer progress bar reaching its end is useful, but a reviewer also needs to know that the copied material opens as expected.
Use a proportionate verification record. Confirm the expected filenames or session parts, check that the durations are plausible, and open representative points from the beginning, middle and end. For multichannel work, select the required channels in the receiving application. A mixed playback can sound normal while concealing that the review software is not exposing separate channels.
Do not rename an extension to make a file appear to be a different format. If a compatible review copy must be exported, use the supported export process and retain the source according to policy. Identify whether the result preserves channels, combines them or changes the encoding. The receiver should not have to guess how the delivered file relates to the original.
Package the recording with the relevant log and clear instructions for opening it. Confirm that the receiving workstation has the necessary software and permission to use the files. Use the organization's approved transfer method; choosing equipment does not by itself establish how recordings may be shared or retained.
A transcription workstation needs more than a media player that happens to make sound. Decide whether the reviewer must select individual recorded channels, vary playback speed, rewind in controlled steps, and use a foot pedal while typing. Match those requirements to the actual source files and software.
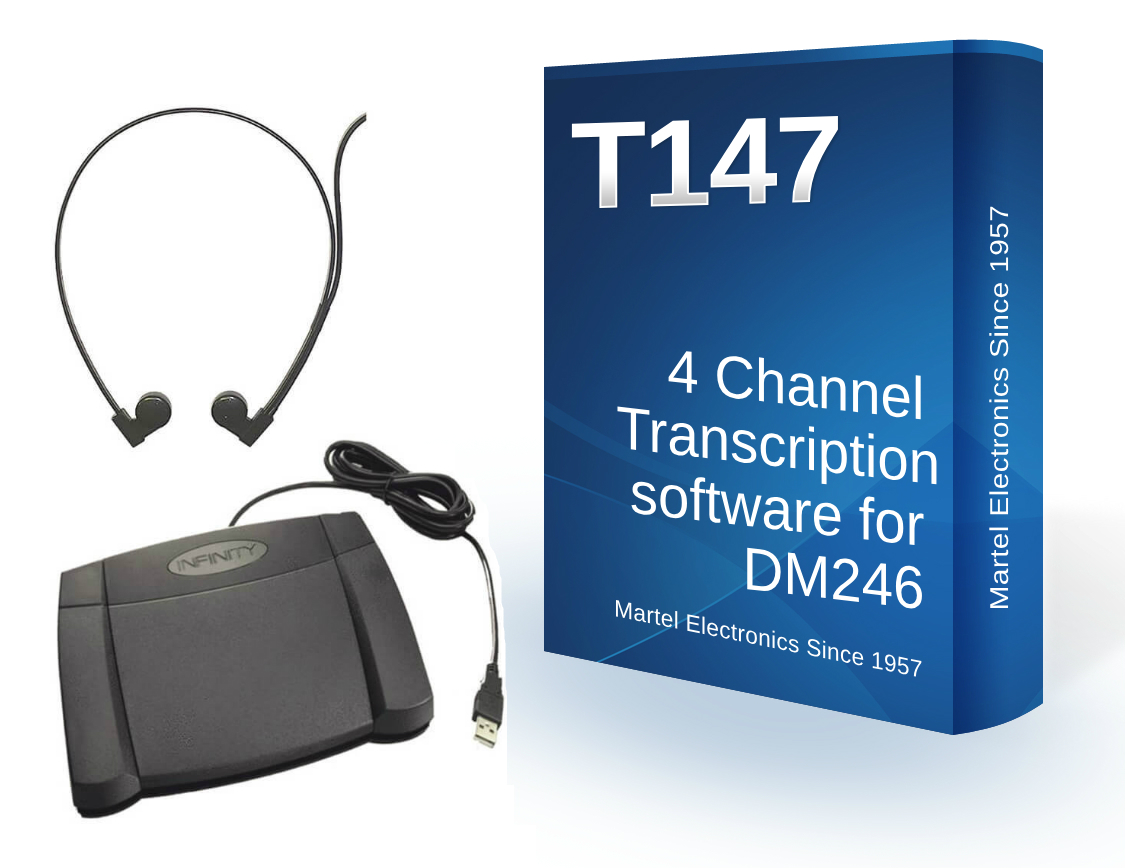
Martel's T147 four-channel transcription kit, SKU 1585, is intended for the DM246 workflow and provides individual-channel or combined listening with supported foot-pedal control. The software-only listing, SKU 1611, serves a different purchase situation from a kit containing hardware. Compare the exact included items when equipping a new workstation or adding software to existing equipment.
Use a representative recording from the delivered recorder during setup. Open it, select each channel, test the pedal and save the practice document separately. A pedal controls playback; it does not store the transcript. A word processor stores the text; it does not establish that the correct audio source was reviewed.
Set the listening arrangement for sustained work. Confirm that both the application and the computer use the intended output. Select a comfortable playback level and keep the source file identified while moving between parts. If one channel sounds weak, compare it with the original source and the other channels before deciding whether the issue comes from capture, routing or review settings.
Keep a short workstation record containing software name and version, supported pedal model, command assignments, audio output and source-file location. That record makes a future replacement or support conversation more specific. It also helps another authorized reviewer recreate the working arrangement without guessing which settings mattered.
Separate channels can make review more focused because a microphone near the relevant speaking area may provide a more useful signal than the combined room mix. Start by identifying the source and location you need, then compare the individual channel with the combined recording as appropriate to the assignment.
Channel isolation is not automatic speaker identification. If two people speak near the same microphone, both may remain audible on that channel. If a voice carries across the room, it can appear on several channels. Labels such as “witness” describe the planned pickup area; they do not prove who spoke every word in the file.
When reviewing a difficult portion, keep the source reference stable. Note the file, position and channel used. Listen to enough surrounding material to understand where the passage falls in the session. Avoid treating a short isolated sound as self-explanatory simply because it becomes louder when another channel is muted.
Playback speed and volume adjustments can assist review, but they do not create speech that was never captured. Follow the applicable transcription and uncertainty procedures when the recording does not resolve a word. Equipment selection should support careful review without promising that every overlap or quiet passage can be recovered.
If a recurring problem appears in practice recordings, take it back to the capture plan. A poorly placed witness microphone is a setup issue to address before future sessions. Repeatedly compensating during transcription may be less effective than correcting the microphone position, supported input configuration or room procedure that caused the weakness.
A fixed installation benefits from consistency. The microphone locations, cable routes, equipment position and review destination can be documented and checked against the same plan. Labeling helps an operator notice a change: a cable moved to a different input, a microphone turned away, or an adapter disconnected during other work in the room.
A portable kit needs a repeatable packing and setup routine. Group equipment by function: microphones and supports, interface or recorder, required cables, power, monitoring, storage and review tools. Carry a written list of the supplied items and the supported connections. Replacing a missing cable with an unidentified one should not become the default setup method.
For a hypothetical portable hearing room, begin with a simple floor sketch showing four authorized speaking areas and the operator's position. Mark the proposed microphone locations and cable routes. Confirm that the supplied cable lengths reach those locations without stretching across an unsuitable path. Then perform the same saved-channel test used for a fixed room.
Do not copy a successful layout from another room without checking the differences. A longer table, stronger ventilation noise or a loudspeaker beside one microphone can change the recording. Keep the successful setup record as a starting point and document the adjustments required by the new space.
After use, follow the approved shutdown and transfer procedure before packing. Protect connectors and microphone elements, store cables without strain, and record any damaged or missing part. A kit is ready for the next assignment when the complete system can be assembled again, not simply when everything fits back inside the case.
A useful quote names the recording system, microphones, cables, supports, power accessories, storage, monitoring and review components. It should also identify what you already own and what is excluded. This prevents a recorder-only price from being compared with a package that includes several additional parts.
Ask for the proposed channel map and the number of separately saved channels. Distinguish microphone count from channel count. Confirm the required computer, operating system and software license where the arrangement depends on them. If an existing microphone or recorder will be retained, provide its exact model and describe the role it must perform.
Include preparation and support questions. Who helps configure the recording application? What material should be ready for a setup appointment? Which acceptance checks will demonstrate that the delivered equipment performs the requested workflow? Product support and operator responsibilities should be understandable before the first working session.
Plan the review station in the same conversation. State whether the recording operator and transcriptionist use one workstation or separate computers. Confirm the required software rights and included pedal or headset. A second person needing software is a purchasing requirement, not a detail to discover after the recording has already been delivered.
Finish with a defined acceptance exercise: assemble the quoted equipment, record each planned source, reopen the session, isolate the required channels, transfer a complete copy and review it at the intended workstation. The resulting equipment list and observed checks provide a concrete basis for accepting the system.
No. Compare the exact package. The microphone arrangement, compatible computer where required, storage, monitoring and transcription workstation all have separate roles. Some packages supply several of those components together; others assume you already own them.
It may play an available mixed representation without giving you the channel selection the job requires. Test the actual file in the intended review software and confirm the individual-channel functions before choosing the workstation.
No. Microphones receive sound from their positions. A channel map helps a reviewer locate a likely source, but people can move and more than one voice can reach a microphone. Speaker identification remains part of the authorized review process.
Start with DM4 when planning computer-based four-channel recording, DM246 when planning standalone four-channel capture, and T147 when planning a compatible DM246 transcription station. Use the exact product listings to confirm current configurations and supplied equipment.
Bring the room layout, expected sources, required deliverable, applicable technical requirements, existing equipment model numbers and the reviewer's software needs. Those details let the conversation address a complete system instead of a collection of unrelated accessories.
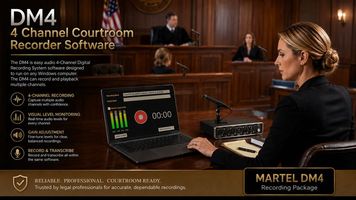
Build a complete recording-to-transcription workflow. Compare equipment roles, map the room, and verify the saved result before accepting a system.
Build a complete recording-to-transcription workflow. Compare equipment roles, map the room, and verify the saved result before accepting a system.
A digital court reporting setup connects several jobs: capturing the permitted speakers, saving usable audio, documenting what happened, and giving a reviewer the material needed to prepare the required deliverable. A microphone and a recorder are important pieces, but the useful purchasing unit is the complete path from a speaking position to a reopened file.
Begin by writing down the assignment. Are you equipping a fixed hearing room, preparing a portable recording station, or adding a separate audio source to an existing reporting workflow? Who operates the equipment? Who reviews the audio afterward? What files, channel separation, notes and delivery arrangements does that person require? These answers establish the equipment list more reliably than choosing a recorder from its headline specification.
This guide concentrates on a digital recording and transcription workflow. A stenographic writer and a Stenomask have different input roles. They may be part of the same working environment, but buying a four-channel recorder does not turn it into a stenographic writer or a speech-recognition system. Keep the method used to capture the proceeding separate from the method used to prepare and check the written work.
Martel offers both computer-based and standalone recording arrangements. The DM4 package records through a compatible Windows computer and four-channel USB interface. The DM246 records through a dedicated standalone recorder. T147 provides a four-channel transcription workflow for compatible DM246 recordings. Use those roles to organize the purchase, then check the exact package, accessories and software needed for your room.
Before specifying equipment for an official record, obtain the responsible court's or organization's current technical and operating requirements. A product description cannot establish approval for every jurisdiction or assignment. The remainder of this guide helps you turn an approved recording task into a concrete equipment, setup and review plan.
Think of the system as five connected parts: source, input, recorder, storage and review. The source is the voice or authorized audio feed you need. The input is the microphone, interface or compatible connection that receives it. The recorder creates the saved material. Storage keeps that material available. The review station lets someone hear the relevant portion again and prepare the deliverable.
A failure at one stage can be mistaken for a problem at another. Quiet playback might start with a distant microphone, an input set too low, an incorrect software selection, or a low playback volume. Buying a louder speaker addresses only the last of those possibilities. A useful setup check follows the audio through each stage instead of changing several controls at once.
Write the path in ordinary language. For example: witness microphone, input two on the interface, channel two in the recording application, job folder on the recording computer, then a copied session opened at the review workstation. This description identifies actual devices and destinations. It also makes an omission visible, such as a review application that cannot select the individual recorded channels.
For each path, record the connector and power requirement. A microphone input is different from a line input. USB audio is different from a USB socket used only to transfer files. A headphone connection supplies an output; it is not another place to connect a microphone. Similar connector shapes are useful clues, but the equipment's supported signal path determines compatibility.
Keep a separate line for remote participants when a proceeding includes them. Their sound arrives through a conferencing or telephone system, and it needs an approved route into the recording. A room microphone hearing a nearby loudspeaker is a different arrangement from an authorized electronic feed. Identify the intended method before selecting cables or promising that every source will appear in the saved session.
A four-channel layout gives the operator four separately reviewable audio paths when the complete hardware and software arrangement preserves them. It does not automatically assign one person to each channel. Several people may speak near one microphone, and one loud voice may be audible on several microphones. Name channels by their planned pickup areas so the labels remain useful when people change seats.
A proposed room might use channel one for the bench, channel two for the witness position, channel three for one counsel table and channel four for the other counsel table. That is a planning example, not a required room design. A different hearing room may need an interpreter position, a lectern or an approved remote feed. Adjust the map to the actual assignment and permitted microphone locations.
| Channel | Example planned source | What the operator verifies |
|---|---|---|
| 1 | Bench area | The intended microphone reaches the expected saved channel. |
| 2 | Witness position | Ordinary and quieter speech remain useful during individual-channel playback. |
| 3 | First counsel table | Speech is captured with papers and equipment in their normal positions. |
| 4 | Second counsel table or another approved source | The source is identified and its connection remains separate as planned. |
Label both ends of each microphone cable with the same channel number. Add a plain description to the equipment record, such as “2 — witness table.” A cable color alone can become ambiguous after a replacement. Number and description together help a second operator connect the room without having to infer yesterday's arrangement.
During a harmless setup recording, speak near one microphone at a time and identify its position aloud. Reopen the recording and select the expected channel. Some acoustic pickup on other microphones is normal; the check establishes that the principal source follows the documented path. If channel two actually contains the bench microphone, correct the wiring or labels before the working session begins.
Computer-based and standalone systems create different working routines. In a computer-based arrangement, the recording program, audio interface, operating system and storage location work together. In a standalone arrangement, the dedicated recorder creates the files and a computer usually becomes involved later for transfer, review or transcription. Neither approach removes the need for setup, monitoring and a saved-file check.
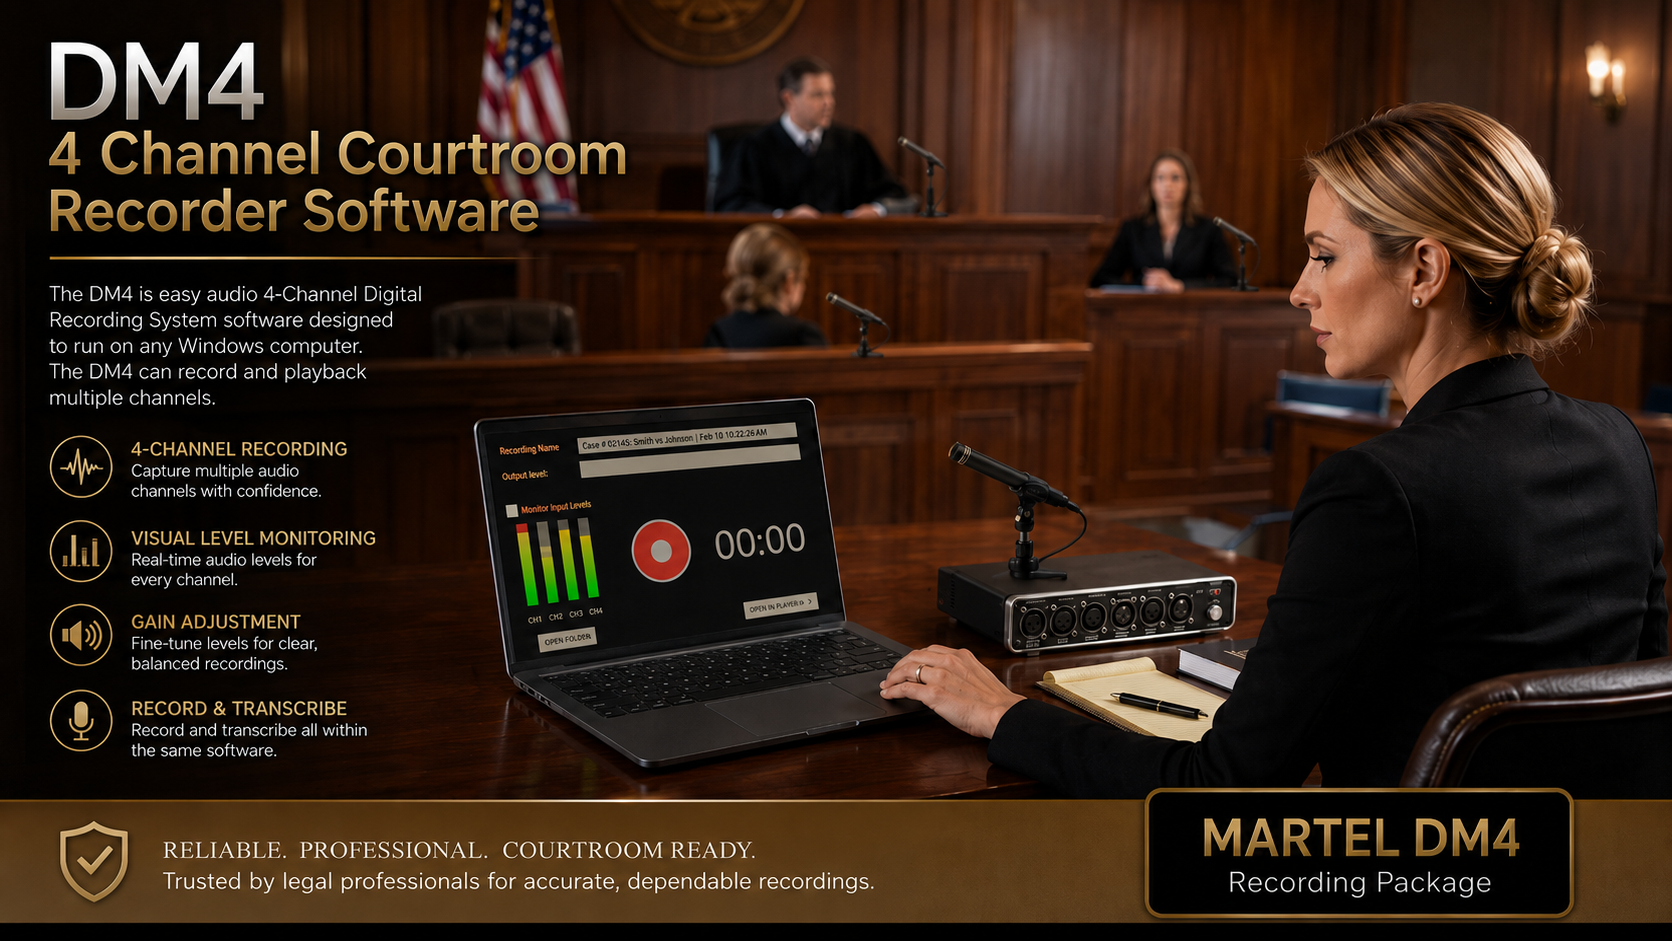
The complete DM4 package, SKU 870, lists DM4 recording and transcription software, a USB four-channel interface, four courtroom microphones, four cables, four stands, a monitoring headphone and a hard case. The compatible Windows computer is separate. That distinction belongs in the budget: a package photograph or the word “complete” does not mean every recording destination is supplied.
DM246 is a standalone four-channel recorder. Martel lists recorder-only and microphone/transcription packages, so compare the specific SKU instead of treating every DM246 offer as the same bundle. A recorder-only purchase can be appropriate when the microphones and review equipment are already owned and compatible. A package can be more practical when the room is being equipped from the beginning.
Ask the future operator which controls will be visible during the session. Where will levels be checked? How will the operator identify the current file or job? What action ends the session normally? How will a different operator find the recording later? These are daily-use questions, and answering them often makes the choice clearer than comparing maximum recording specifications.
If a computer will serve several roles, list them. Recording, remote participation, document work and file transfer may compete for attention even when the hardware can perform them. Decide which activities belong on the recording machine during a proceeding and which can wait. For a standalone recorder, make an equally explicit plan for card handling, charging or power, and transfer to the review computer.
The microphone decision has two sides: acoustic placement and electrical compatibility. A microphone needs a useful view of the intended speaking area, and its output needs to match the receiving equipment. Solving only one side can leave a complete-looking system that does not produce a useful recording.
Start with the positions people are permitted to occupy. Note the distance to the proposed pickup point, whether participants face away while speaking, and where documents or laptop screens may obstruct the microphone. An unobstructed placement closer to the relevant speech can be more useful than simply increasing recording gain from a distant position.
Consider what else the microphone will hear. Table impacts, paper handling, ventilation and nearby loudspeakers can reach the input along with speech. Avoid placing a microphone where every moved exhibit strikes its support or cable. Keep stands and cables stable, and arrange the work area so normal use does not require someone to move the microphone repeatedly.
For electrical compatibility, identify the microphone's connector, required power and expected input. Martel's Voice Grabber, SKU 1995, is a boundary microphone specified for 48-volt phantom power. That is a different requirement from a small microphone that uses low-voltage plug-in power or a USB microphone powered through the computer connection. Do not choose an adapter solely because it makes the plugs fit.
The correct number of microphones depends on the planned sources and recording arrangement. Adding microphones can improve physical coverage while also increasing the amount of room sound entering a mix. A system with eight microphone positions may still preserve only four recording channels if some inputs are combined. Ask how the proposed package maps microphones to saved channels and document that answer.
Set levels using the voices and positions the system must actually capture. A loud test spoken directly into the microphone does not establish that a quiet person seated farther away will be understandable. Include an ordinary speaking level, a quieter passage and a naturally louder passage in the practice session.
Gain controls affect the incoming signal. Playback volume affects how loudly you hear a signal that has already been recorded. Keep those roles separate. If a recording is distorted because the input overloaded, reducing the headphone volume makes the distortion quieter without removing it. If the recording is clean but playback is simply low, increasing recording gain for the next session may be the wrong response.
Use the receiving equipment's signal indicators and clipping warnings as described in its instructions. The DM4 interface listing includes individual gain controls and signal/clip indicators. Adjust each input for its intended source rather than assuming that identical knob positions produce identical recordings. Different microphones, speaking distances and voices can require different settings.
Leave practical margin for changes in delivery. A person who speaks quietly during setup may raise their voice later. The aim is a clear recording that remains usable across the expected range, not the tallest possible meter display. If a far microphone requires an extreme setting while a nearby voice overloads, reconsider the pickup arrangement before treating gain as a substitute for placement.
After adjustments, save another short sample and compare it at a sensible listening level. Record what changed. “Witness microphone moved away from the laptop fan” is more useful later than “audio improved.” Clear notes help the next operator understand why the setup was chosen and make it easier to reverse a change that did not help.